Beauty Guides / Facial tools and rituals
How to use a gua sha stone, step by step
A safe two to five minute facial gua sha routine, which edge to use where, how much pressure to use and the mistakes to avoid.
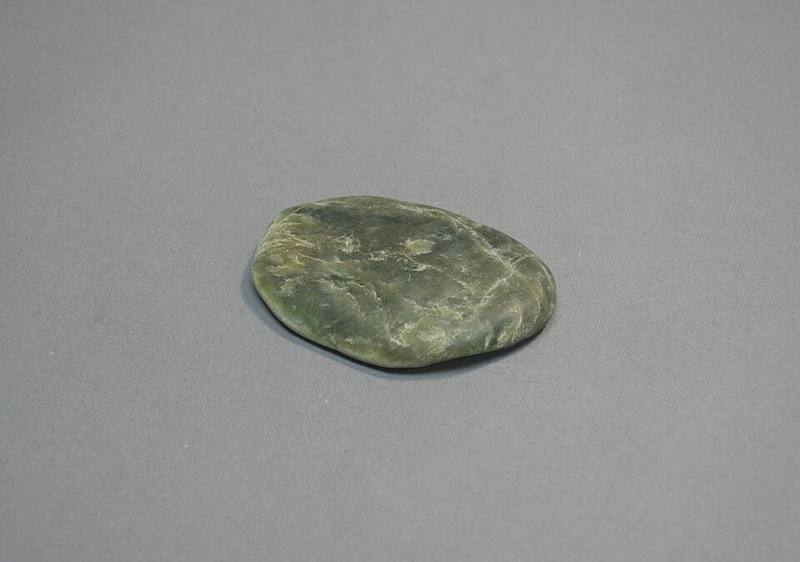
A facial gua sha routine takes two to five minutes and is easiest at night after your skincare, or in the morning to calm puffiness. The key ideas: lots of slip, light pressure, slow strokes, always moving outward and down toward the neck.
Before you start
- Clean stone, clean face. Wash the tool with mild soap and water and start on a freshly cleansed face.
- Add slip. Apply a face oil, a rich serum or a moisturizer generously. The stone must glide, never drag.
- Hold it flat. Keep the stone almost flat against the skin, at about a 15 degree angle, not upright like a scraper.
- Light pressure. Think massage, not scrubbing. On the face, you should feel gentle movement of skin and muscle, with no pain.
Know your stone's edges
| Part of the stone | Best used for |
|---|---|
| Long curved edge | Cheeks, jawline, neck |
| Notched or "wave" edge | Jawline and chin (hug the bone) |
| Small curve or point | Under the eyes, sides of nose, brows |
| Flat face of the stone | Cooling press on puffy areas |
The routine
Repeat each stroke three to five times, then move on.
- Neck first. Starting under the ear, stroke gently down the side of the neck toward the collarbone. Many practitioners begin here to "open" the drainage path.
- Jawline. Place the notched edge at the center of your chin and glide along the jawbone up to just below the ear. Finish with a soft stroke down the neck.
- Cheeks. From beside the nose, glide outward across the cheek toward the ear, following under the cheekbone. Then do a second row higher, over the cheekbone.
- Under the eyes. With the smallest curve and very light pressure, sweep from the inner corner outward toward the temple. Skin here is thin, so go slowly.
- Brows. Glide along the brow bone from inner to outer end, then press gently at the temple for a breath.
- Forehead. From the center of the brows, stroke upward to the hairline, then work outward in sections toward the temples.
- Finish. Do a few final strokes from the temple down the side of the face and neck to the collarbone.
Do one side completely, then the other. Your whole session can fit into two songs.
Chill your stone in the fridge for a few minutes before morning sessions for an extra depuffing, cooling feel. Do not freeze it.
How often
Gentle facial gua sha is commonly done anywhere from a few times a week to daily. Watch your skin: if it stays red for more than a few minutes, reduce pressure or frequency.
Common mistakes
- Dry stone or dry skin. Dragging can irritate and stretch skin.
- Too much pressure. Facial gua sha should never leave marks, bruises or tiny red dots.
- Working over active breakouts. Gliding over inflamed acne can spread bacteria and irritate. Avoid those spots.
- Skipping cleaning. Oil and skin cells build up on the stone. See caring for your tools.
- Expecting a new face shape. Effects such as reduced puffiness are temporary.
When not to use gua sha
Skip facial gua sha over sunburn, rashes, open wounds, active cold sores, inflamed acne, fresh injectables or right after cosmetic procedures, unless your provider says it is fine. People with rosacea or very reactive skin should start very gently or ask a dermatologist first.
General information only. Gua sha is a wellness ritual, not a medical treatment. Stop if you feel pain or notice bruising.